Due to the last post getting a bit length, I’m going to cover installing Plex in a separate post. However you get a Linux VM, you can simply log in to the box.
This is probably the worst time to tell people, but you can easily run Plex on Windows, but that would not allow you to run Plex on a Raspberry PI.
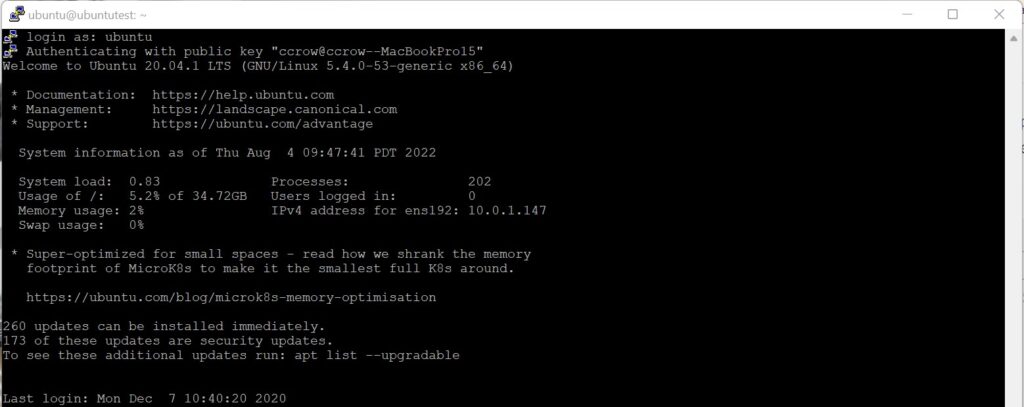
Log in to your VM.
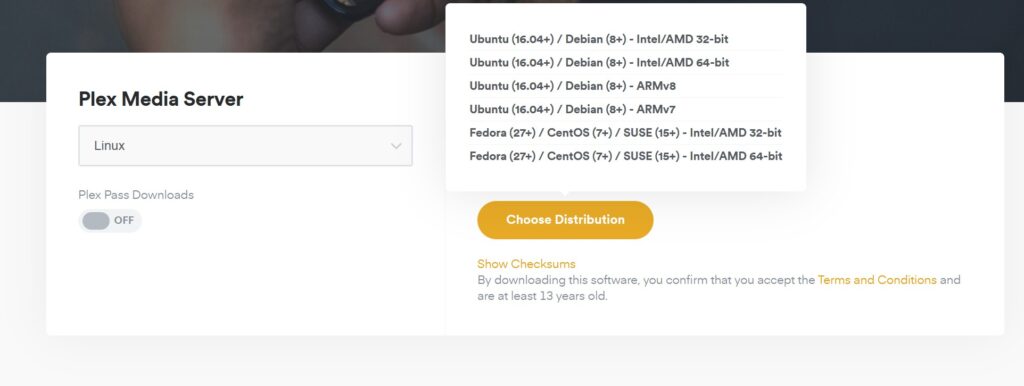
Next, we need to get the plex installation. Head over to plex.tv and select linux, and click the “Choose Distribution” option.

We are now going to do something tricky: Right-click on the Ubuntu Intel/AMD 64-bit or the Ubuntu ARMv8 (if you use Raspberry PI) and select “Copy Link”. After all, we want the software on our linux box!
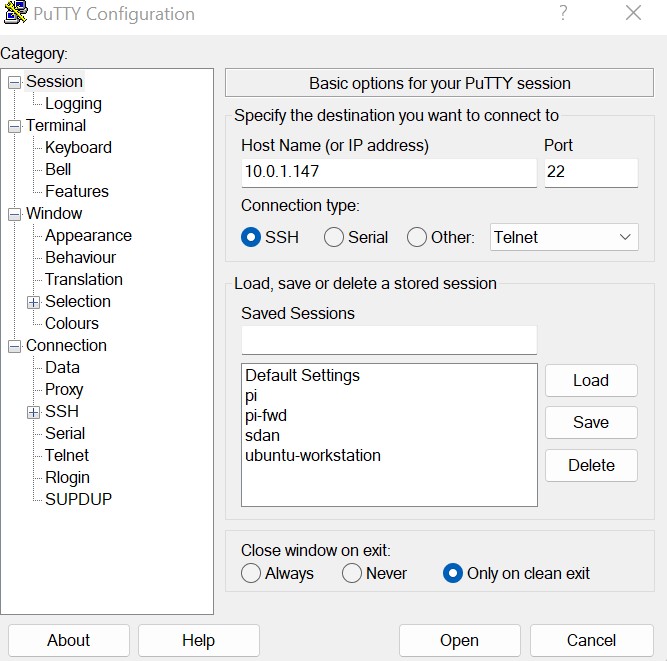
If you haven’t already, get an application called putty. This will allow you to connect to a terminal of your new Linux server, and paste commands most importantly! Launch the app:

And then type in your username and password at the prompt.

At the prompt, let’s download and install Plex:
#get the plexmediaserver package
wget https://downloads.plex.tv/plex-media-server-new/1.28.0.5999-97678ded3/debian/plexmediaserver_1.28.0.5999-97678ded3_amd64.deb

#install plex
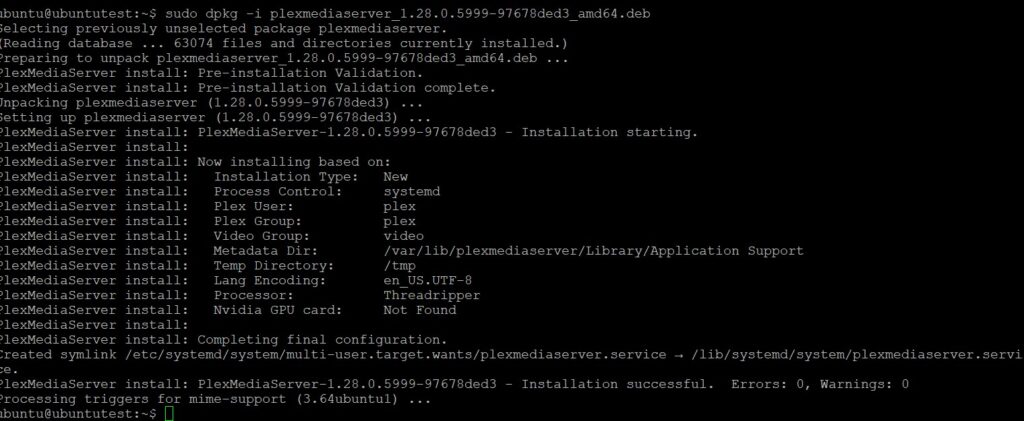
sudo dpkg -i plexmediaserver_1.28.0.5999-97678ded3_amd64.deb
Keep in mind that the first time you run a command with sudo (which allows you to become an administrator for just that command) you will have to type your same password in again.

You are set! Plex is done! Access it with: HTTP://<YOURIPADDRESS>:32400/web
Getting media over is a separate task. It can be as simple as getting a drive from Costco. Consider formatting the drive on the Linux machine and transferring data using a tool like WinSCP.
Drop a comment if you get this far and I can update the post.